The LabelMate USA LABEL SLITTER is an in-line label slitter-rewinder designed to slit and rewind labels directly from a printer. This selected configuration is Option: SR-200 with Left/Right: LEFT, identified by SKU 80-239-0008. Its left-side positioning, three blades and 10-inch maximum media width provide a practical workflow for producing narrower, tightly wound label rolls from printed stock.
1. Create a free-hanging loop before the rewind section
Run the label stock from the printer to the SR-200 so a free-hanging loop forms between the two units. This workflow separates the printer from rewinding tension, helping the printer feed material without the pull of the finished roll. The SR-200 optical sensor monitors the loop and controls the slit-and-rewind action while printing is underway, reducing the need for constant manual intervention.
2. Position the SR-200 on the left side of the printer workflow
Plan the bench layout around the selected LEFT configuration rather than forcing material to cross the work area. A direct path from printer to slitter-rewinder helps keep the label web organised and makes it easier to observe the free-hanging loop. This configuration consideration is particularly useful when arranging a repeatable print-and-finish station with the rewind direction already determined by the production layout.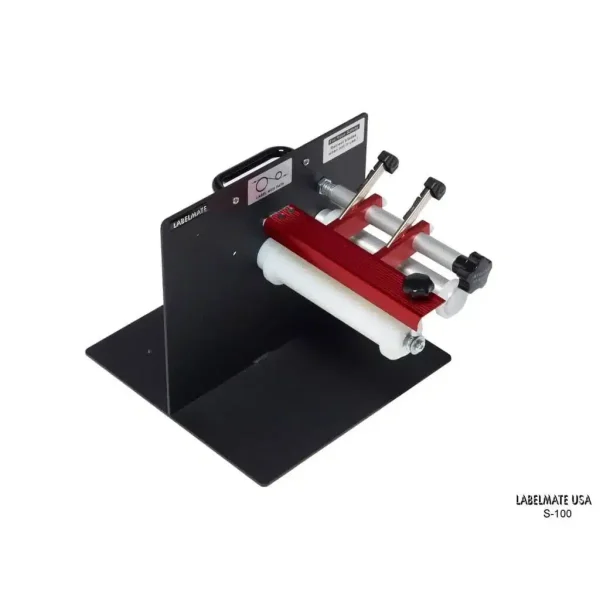
3. Set blade positions around the finished roll widths required
Use the SR-200’s three fitted blades to divide printed label stock into the narrower widths needed for the job. Aligning the slitting arrangement with the required roll widths enables printing, slitting and rewinding to occur as one process instead of handling a wide printed roll separately after printing. The SR-200 can accept up to two additional blades where the finishing requirement calls for more slit lanes.
4. Keep media dimensions within the SR-200 operating range
Match each production run to the SR-200’s documented media limits: material from 0.5 inches (12.7 mm) to 10 inches (254 mm) wide, rolls up to 8.5 inches (216 mm) in diameter, and 3-inch (76 mm) cores. Working within these dimensions helps maintain a consistent in-line path through the slitter-rewinder and avoids building a workflow around roll formats outside the unit’s stated capacity.
5. Adjust finish-roll tension for the roll condition required downstream
Use the fully adjustable tension between the slitter tensioning roller and the rewinder take-up shaft to tune how firmly finished rolls are wound. Controlled tension helps produce consistent, tight rolls for subsequent handling or application processes. Treat tension as a job setting: review it when changing label stock or when the desired finished-roll tightness changes, rather than relying on one setting for every run.
6. Use the separator plates when producing multiple finished rolls
The SR-200 includes two SP-76-220AL aluminium separator plates for separating finished rolls. Incorporating the separator plates into multi-roll work helps keep slit rolls distinct on the take-up arrangement. This supports a more orderly finishing process when a wider printed web is divided into separate roll widths.
7. Let sensor-controlled operation match rewind activity to printing
The SR-200 optical sensor starts and stops the slitting and rewinding action in response to the material loop during printing. Make the loop visible and unobstructed in the workstation so its movement can be readily monitored during a run. This sensor-controlled approach aligns rewinding activity with printer output and supports a hands-off in-line finishing workflow once the material path and tension are set.
Find the Right Product
Contact our team to discuss the LabelMate LABEL SLITTER SR-200 Left configuration for your label finishing workflow.